


The Weekend Project: DIY Raised Garden That Transforms Ordinary Yards Into Food Paradise

Raised Garden Bed Basics
Benefits of Raised Garden Beds
Raised garden beds are like the VIP section of your yard, giving your plants the red carpet treatment. Here's why they're the talk of the gardening world:
- Looks That Wow: Raised beds bring a neat and tidy vibe to your garden, making it look like you hired a professional landscaper (Family Handyman).
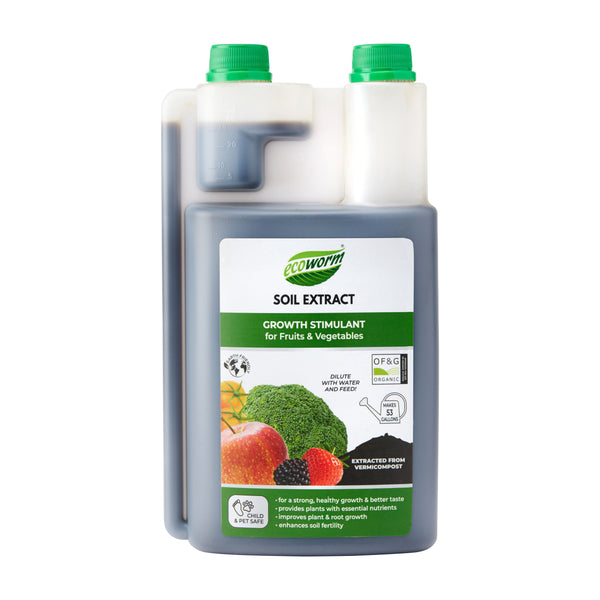
- Soil You Can Count On: You get to play soil scientist, mixing up the perfect blend for your plants. Toss in some compost like Black Gold® Garden Compost Blend, and your plants will be living their best life.
- Veggie Paradise: With primo soil and drainage, your veggies will be happier than a kid in a candy store.
- Bumper Crop: Raised beds can turn your garden into a produce powerhouse, cranking out fruits, veggies, and herbs like nobody's business.
- Water Wizardry: Say goodbye to soggy soil. Raised beds let you control the water game, keeping your plants perfectly hydrated.
- Pest Bouncer: Elevated beds are like a VIP lounge for your plants, keeping pests and diseases at bay.
- Season Stretch: These beds warm up faster in spring and can be covered to keep the party going longer, letting you plant earlier and harvest later.
Cost Considerations and Material Options
Thinking about building your own raised garden bed? Let's talk dollars and materials:

| Material | Cost Range (per square foot) | Pros | Cons |
|---|---|---|---|
| Wood | $10 - $30 | Natural look, easy to work with | Prone to rot, may need replacement |
| Metal | $20 - $40 | Durable, modern aesthetic | Can overheat soil, higher cost |
| Concrete Blocks | $15 - $35 | Long-lasting, sturdy | Heavy, less flexible design |
| Fabric | $5 - $15 | Lightweight, portable | Less durable, may need support |
- Wood: It's the classic choice, easy to handle and looks great. But it can rot, so go for cedar or redwood if you want it to last longer.
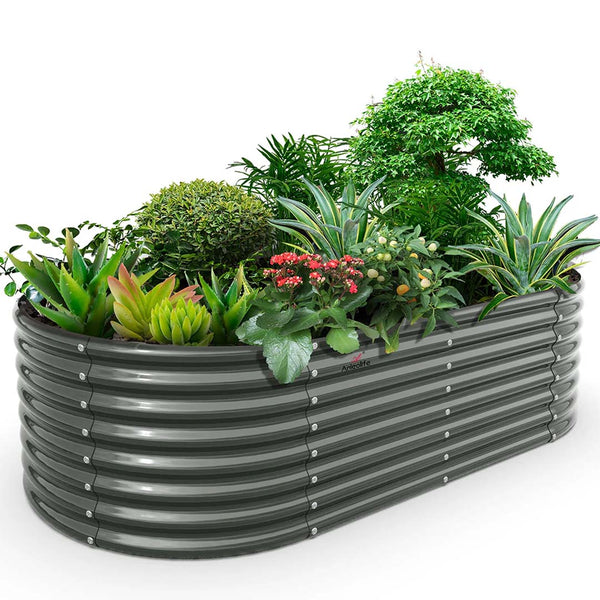
- Metal: Sleek and tough, metal beds are built to last. Just watch out for soil overheating, and be ready to spend a bit more.
- Concrete Blocks: These are the tanks of garden beds—solid and durable. They're heavy, though, so get ready for a workout when installing.
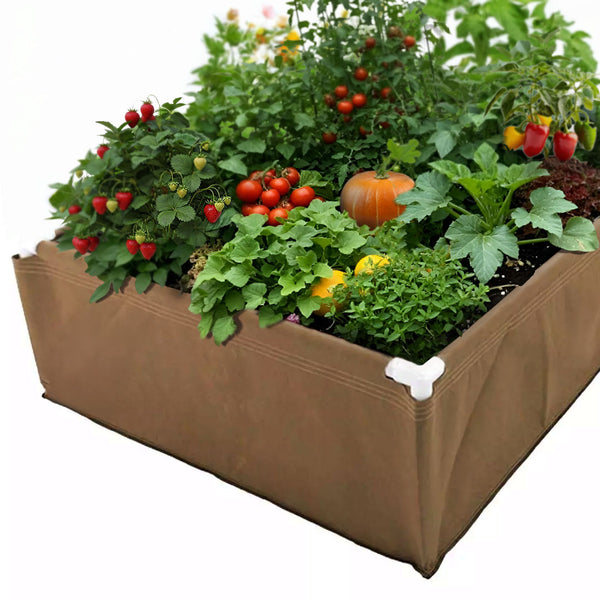
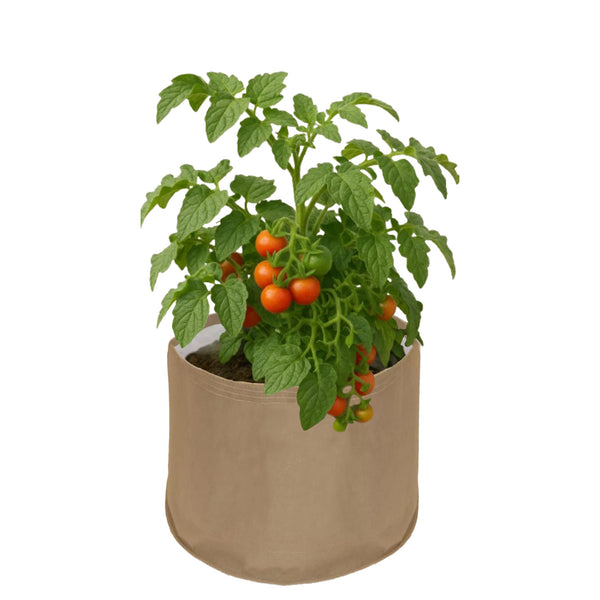
- Fabric: Perfect for city dwellers and renters, fabric beds are light and easy to move. They breathe well but might need a little extra support to keep their shape.
For more on raised garden bed options, check out our articles on raised garden bed kits and raised garden boxes DIY.
By weighing the perks and costs of different materials, we can pick the best fit for our gardening dreams. Whether we're after a stunning garden or a practical setup, raised garden beds are a win-win for any green thumb.
Building Raised Garden Beds
Rolling up your sleeves and building a raised garden bed can be a fun weekend project. We're here to walk you through some DIY raised garden bed ideas and give you a step-by-step guide to get you going.
DIY Raised Garden Bed Projects
Raised garden beds are like the VIP section for your plants. They offer better soil, improved drainage, and make it easier to reach your green babies. Here are some ideas to get your creative juices flowing:
Wooden Raised Garden Bed: Grab some cedar or redwood, the superheroes of the wood world, because they naturally fight off rot and pests. Cedar is often the go-to choice because it lasts forever (Gardenary).
Metal Raised Garden Bed: Want a sleek, modern vibe? Try corrugated metal sheets. They're tough and can handle whatever Mother Nature throws at them. Just watch out for them getting too hot in the summer sun.
Fabric Raised Garden Bed: Perfect for renters or if you're short on space. These are light, easy to move, and set up in a snap. Plus, they breathe well and drain like a dream, making them great for tight spots.
U-Shaped Raised Garden Bed: This design is all about convenience. You can reach every plant without trampling the soil, which means happier, healthier plants (Journey with Jill).
Step-by-Step Construction Guide
Building a raised garden bed is as easy as pie. Just follow these steps:
Materials Needed:
- Cedar or redwood boards (2" thick is best)
- Galvanized screws or nails
- Drill or hammer
- Measuring tape
- Level
- Soil and compost
Step-by-Step Instructions:
Choose the Spot: Find a sunny patch in your yard with good drainage. Make sure it's flat and weed-free.
Measure and Cut the Wood: Cut the boards to the size you want. A popular size is 4 feet wide by 8 feet long, so you can reach the plants without stepping in the bed.
-
Assemble the Frame:
- Lay the boards out on a flat surface.
- Use galvanized screws or nails to attach the corners. Make sure everything's square and level.
-
Prepare the Ground:

- Clear away any grass or weeds where the bed will go.
- Loosen the soil to help with drainage and root growth.
Place the Frame: Put the frame in the spot you prepared. Check it's level and adjust if needed.
-
Fill the Bed:
- Start with a layer of gravel or stones for drainage.
- Fill it up with a mix of soil and compost. Raised beds can really boost your veggie growth.
Plant Your Garden: Once it's filled, get planting! Whether it's veggies, herbs, or flowers, raised beds make gardening a joy (National Garden Bureau).
| Step | Description |
|---|---|
| 1 | Choose the Spot |
| 2 | Measure and Cut the Wood |
| 3 | Assemble the Frame |
| 4 | Prepare the Ground |
| 5 | Place the Frame |
| 6 | Fill the Bed |
| 7 | Plant Your Garden |
For more tips on raised garden beds, check out our articles on raised garden bed and raised garden boxes diy. Happy gardening!